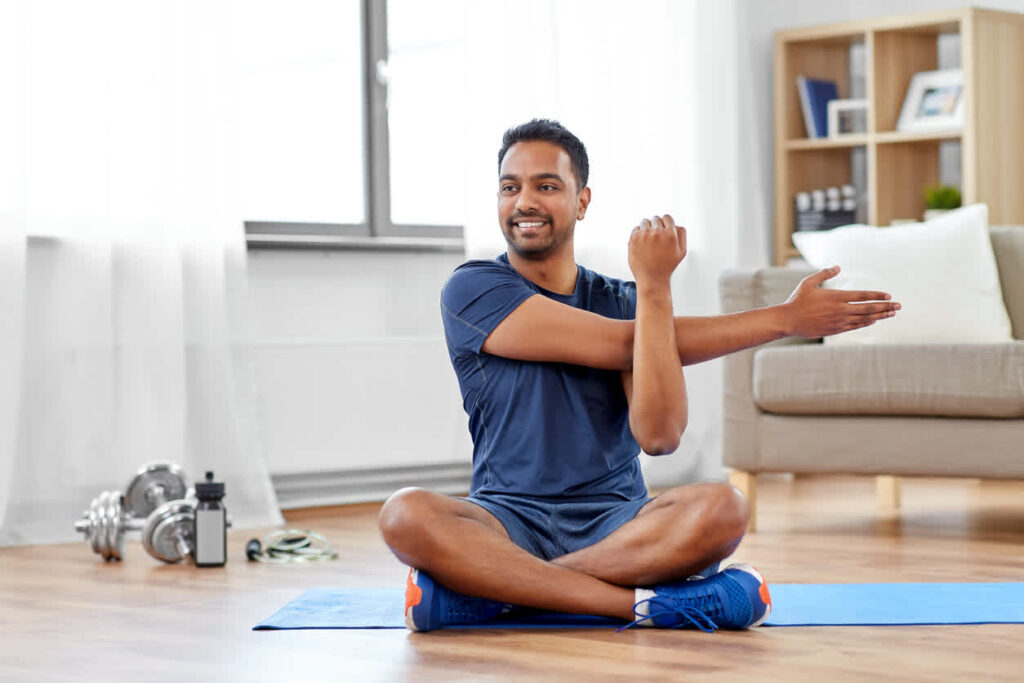
Healing process after an injury or a surgery is always a difficult task but with home physical therapy exercises you can get the best results. Sukino Healthcare is a licensed rehabilitation & long term care service provider, suggesting these seven exercises which will support your path to recover strength, flexibility and general health. All the exercises have been chosen individually in order to influence different muscles of the patient’s body.
Best Home Physical Therapy Exercises
1. Ankle Pumps
Ankle pumps as a type of exercise are easy to perform and provide good results within the above-stated goal of enhancing blood flow, relieving oedema and increasing limb movements in the lower limbs. This exercise is most useful to patients discharging from surgery or those who have been confined to their bed or chairs for a long while.
How to Perform Ankle Pumps:
- Lie down on your back with your both legs stretched.
- The action of flexing your foot is pulling your toes back to the direction of your head.
- Pause for about 10 seconds, and then flex your toes towards your nose.
- It’s advised to perform this movement for 10-15 repetitions.
Benefits:
- Improved Circulation: Used to help in the prevention of blood clots and the swelling, known as oedema.
- Enhanced Mobility: Frees up other joints in the lower limbs and ankles hence increases the ability for one to move their ankles in different directions.
- Easy to Perform: They can be carried out at any place hence suitable for home recovery.
Tips:
- It is advised that this exercise should be done severally in a day.
- Be flexible in your movements and keep them slow so you will not exert too much pressure in your muscles.
Using ankle pumps during your daily exercises is very helpful and also it can help in the quick recovery of the affected part and improve the circulation system.
2. Heel Slides
Heel slides are very beneficial for increasing the flexibility of the knee and hip joints especially following operations or injury of the knee. It is recommended that this exercise be done to be able to regain range of motion and has improvement on the muscles that surround the knee joint.
How to Perform Heel Slides:
- Lay down flat on your back with your legs as straight as you can.
- Place your heel as far as possible behind the other, while bending the knee of the leg behind.
- Stand for a few seconds on tiptoe, then lower the heel back to the floor to the initial position.
- Do the same with the other leg following the same sequence of steps that have been explained above.
- The recommended set/reps for this exercise is 3 sets of 10-15 reps on the leg circle.
Benefits:
- Increased Flexibility: They assist to restore firstly a full range of motion in knee and hip joints.
- Muscle Strengthening: Tones up the muscles of the upper part of the thighs known as the quadriceps and the muscles at the back of the thighs known as the hamstrings.
- Joint Health: Help in lubrication of the joints and decrease of stiffer.
Tips:
- If you find it somewhat difficult, ease into the movement by wrapping a towel or a strap around the foot.
- Take time while performing the activities and do not exert yourself so that you do not feel the pains.
Heel slides are recommended for individuals who need to integrate effective knee movements to encourage heal after an injury or operation.
3. Bridges
Bridges are another basic exercise that work at the glutes, hamstrings, and lower back. They are most useful to those who are undergoing treatment after lower back pain or Hip arthroscopy surgery.
How to Perform Bridges:
- Standing to start, put your feet shoulder-width apart with your knees slightly bent and your feet touching the ground.
- Stand with your feet shoulder-width apart and your arms by your sides.
- Inhale, and slowly bend your knees trying to bring your hips towards the ceiling, feel your glutes get engaged.
- Now firmly place the above stated position for about five seconds and finally, bring the hips back to the floor.
- Repeat for 10-15 repetitions.
Benefits:
- Strengthening: Exercises the muscles of the lower body particularly the buttocks, the back of the thighs and the lower back.
- Stabilization: Helps the strengthening of anterior core muscles and pelvic girdle muscles.
- Pain Relief: Reduces lower bach pain by making muscles that support the back stronger.
Tips:
- It is also important to make sure that your knees transfer along the target straight line as you transfer your feet.
- Do not over bow your spine; try to contract your buttock muscles.
Bridges are going to be very helpful added into your rehab program and are going to be able to strengthen both your lower body while helping improve your balance.
4. Straight Leg Raises
Straight leg raises as an important basic exercise for working on the quadriceps and the hip flexors. They are most advisable to people who may have undergone through knee or hip surgery.
How to Perform Straight Leg Raises:
- Lay flat on your back and rest one leg on the other, bending one knee and extending the other.
- Clasp your hand on the shoe or ankle, while doing so, tighten the thigh muscles and lift the straight leg to the level of the bent knee.
- Stay that way for some time before you gradually bring the leg back to the initial position.
- Do the same for 10-15 repetitions on the opposite leg.
Benefits:
- Strengthening: Involves the quadriceps and hip flexors for muscles that are important in walking and climbing up the stares.
- Joint Support: Is effective in preventing or relieving knee and hip joint instability.
- Functional Improvement: Improves the capacity to carry out basic functions and tasks in day to day life.
Tips:
- Strike the muscles steadily and steadily.
- Do not lift your leg high to help you avoid placing a lot of stress on your lower back.
Straight leg raises are often included in various rehabilitation courses owing to their efficiency in strengthening the muscles of the leg.
5. Seated Marching
Seated marching is also a good exercise for enhancing the hip and knee joints as well as recommended for people who have problems with standing or walking.
How to Perform Seated Marching:
- Stand or sit on a chair with your seat bones touching the chair and your feet resting on the floor.
- Raise one of the knees towards the chest but do not bend the back at the same time.
- Bend your other knee and slowly lower your foot back to the floor, then stand up again with that foot.
- Switching the leading limb to perform 10-15 pulsing adds on each side.
Benefits:
- Mobility: It exercises the hip and knee joints and brings flexibility to them by increasing their limitations of motion.
- Strengthening: Helps in improving the muscles of the hip flexor and the quadriceps as well.
- Circulation: Helps to release pressure and stiffness affecting the lower part of the body and limbs.
Tips:
- Be as slow and precise as possible and do not lean back.
- Sit on a chair that will not flex and should ideally provide back support.
Seated marching is relatively light as an exercise and can, therefore, be incorporated directly into the routine for people with little mobility.
6. Shoulder Blade Squeezes
To perform shoulder blade squeezes, a person puts his fingers on the shoulder blades, and pushes them towards each other for some time – it is good for correcting posture and to tone up the upper back muscles. Certain exercises are especially useful for those who have recently had a shoulder surgery or for people suffering from upper back pain.
How to Perform Shoulder Blade Squeezes:
- Stand with your hands by your sides or sit down for the test.
- Tense your shoulder blades and pull them as close as possible, towards each other, as if you are holding a pencil in between them.
- Wait for a few seconds and then drop the shoulders.
- Repeat for 10-15 repetitions.
Benefits:
- Posture Improvement: Can be used to rectify the rounded shoulders and in general correct posturing of the upper part of the body.
- Upper Back Strength: Tones the muscles on the back like the rhomboid and trapezius muscles.
- Pain Relief: Reduces upper back and shoulder muscles’ support pain.
Tips:
- Do not raise the shoulders, think about pulling the scapula upwards and towards each other.
- It is recommendable to repeat this exercise severally in a day to enhance the outcome.
The use of shoulder blade squeezes as part of the patient’s exercises stimulates posture, thereby lessening upper back pain.
7. Wall Push-Ups
Wall push-ups are a somewhat easier type of push-up that helps strengthen the upper part of the body while not overloading the shoulders or wrists. They are particularly suitable for use by anyone in the process of rehabilitation or who has been limited by the use of their upper bodily parts.
How to Perform Wall Push-Ups:
- Position yourself with your front against a wall, maintain a distance of 45 centimeters from the wall.
- Stand about one arms’ length away from the wall and at this position hold your palms flat on the wall at about where your shoulders are.
- Bring your elbows closer to the wall – align your body tightly with your trunk.
- Use the arms to return back to the initial starting point.
- Repeat for 10-15 repetitions.
Benefits:
- Upper Body Strength: Engages upper body and specifically the chest, shoulders and triceps.
- Low Impact: Less stressful on the wrists and shoulders compared with the traditional approach of push-ups.
- Functional Strength: Enhances the capacity of executing tasks that needs the utilization of the upper extremities of the body.
Tips:
- Move them rather slowly and gently.
- The positions of your body should always find themselves in a straight line during the exercise.
Push-ups on the wall are a rather universal exercise which can be changed in its intensity to suit even the most demanding patient, thus making it perfect for home physical therapy.
Conclusion
Healing from an injury or from a certain surgery is not always easy and it needs much commitment and some correct exercises. Sukino Healthcare states that these seven home physical therapy exercises should be included in one’s daily schedule for optimal healing. Different exercises are performed targeting various muscles and joints and hence the program is holistically developed for rehabilitation.
We are India’s first comprehensive continuum care provider. We provide multidisciplinary out of hospital care to acute and post-acute and chronically ill patients at our critical care facilities and your home.